
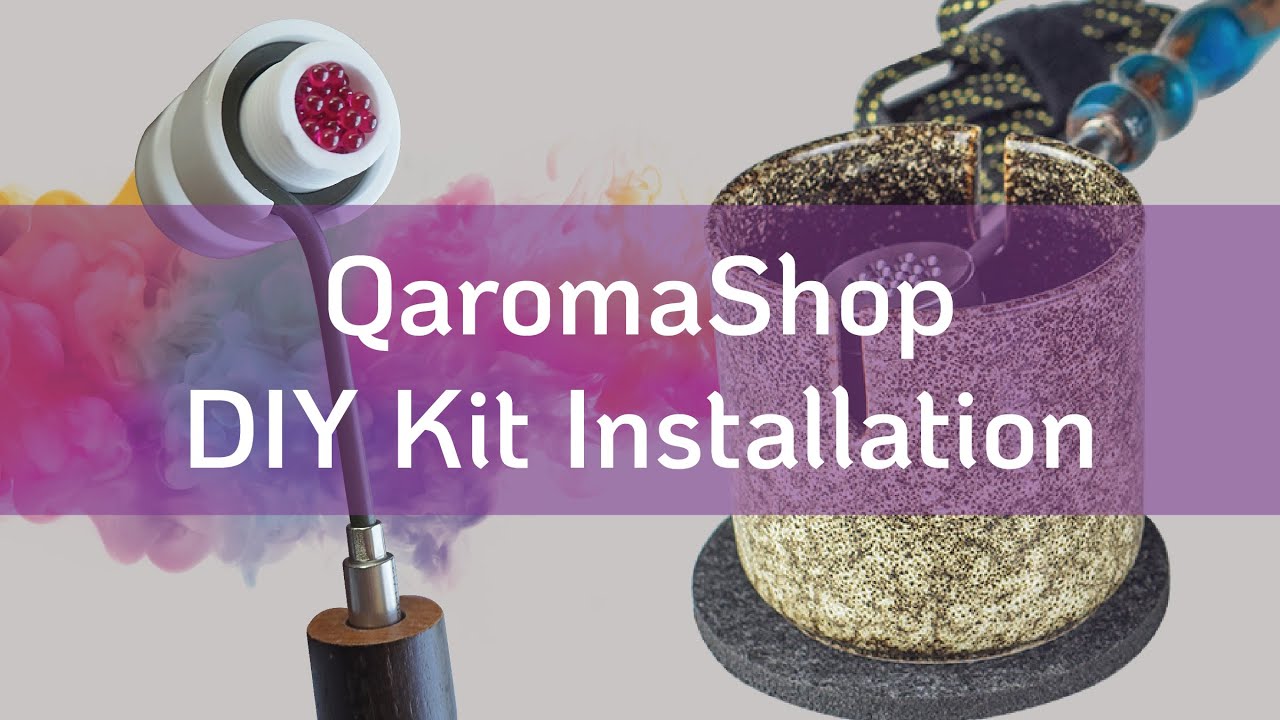
QaromaShop DIY Kit Installation
While QaromaShop DIY kits require a bit of installation, we find the process familiarizes you with your new device and helps fine tune for optimal performance. Below are step-by-step instructions for setting up any QaromaShop device. Not interested in doing-it-yourself? Check out our 'GO Kits' which come fully assembled, ready to use, in a customized hard case. Reach out to through our contact page if you ever have any questions about kits, availability, or anything else.
To ensure the safest operations we advise users to run their fully assembled device at its recommended temperature for 20 minutes in order to ensure cleanliness before first use.
PID Handle Installation
1) Flatten the five wires inside the cord so they are all laying next to each other horizontally


2) Slide the flattened wire back-and-forth on the corner of the handle until the wire is inside the handle.
3) Once inside the handle, pull on the wire to feed it into the handle
4) Continue to pull through until the wire is completely inside of the handle and the handle is touching the metal coil handle
5) Gently slide the wooden handle over the metal coil handle until there is a secure hold
Note: If the metal coil handle is snug inside the wooden handle we recommend inserting it slightly and then leaving it for a bit to allow the wood to relax before fully inserting by twisting back and forth. Be gentle with this step to ensure the wood doesn't crack as you insert the metal coil handle.

Digital PID Temperature Controller
Once plugged in and powered on, users should only utilize the up and down arrows to adjust to their preferred temperature. Do not press the other buttons on the controller.
Coil Burnoff
Note: All 110V (U.S.) coils and full kits purchased from Ritual already have the coil burnoff performed so you can get straight to assembly! We have included the step here for reference and for customers purchasing 220V coils and full kits.
In order to ensure all manufacturing oils are removed and your device provides the purest flavor we recommend performing a 20-minute coil burnoff before installation.
1) Place your coil safely inside your Suet Jade Porcelain Stand and then plug into your PID controller.
2) Turn on the PID controller by pressing the silver button on the back and then set the temperature to 700 degrees fahrenheit
3) After 20 minutes turn off your PID controller and allow the coil to completely cool before proceeding with the installation
Coil Stretching
Coil stretching is a popular way to improve performance of your QaromaShop device by increasing coil & housing contact and thus heat transfer.
IMPORTANT NOTE: Please do not attempt to stretch coils on quartz housings (Qaroma & Qaroma XL). These models are manufactured with a tolerance for thermal expansion and stretching the coil on a quartz housing greatly increases the chances of cracking.
Coils can be safely stretching on any titanium, ceramic, brass, stainless steel and zirconia housings. In order to get going all you will need is a heater coil (works on both 20mm & 30mm), a stainless steel scoop tool, and a flathead screwdriver. Taroma Lite Plus DIY Kits now come with a pre-stretched coil so you can skip this step!

These steps illustrate the most extreme coil stretching utilized on the Taroma Lite Plus, Staroma Lite Plus, and Zaroma Lite housings. For other housings we recommend slowly stretching the coil and re-inserting it into the housing after each stretch to check the fit. The separation between the coils will be much less significant on non-Lite housings.
1) We utilize the flat end of QaromaShop's stainless steel scoop tool to begin separating the layers of the coils. Once the layers are slightly separated, insert your flathead screwdriver and gently rotate it in order to stretch apart the layers of the coil.
2) Repeat this coil separating process between each layer of the coil. Once completed on one side of the coil, flip it over and even out the stretching on the other side.

3) Once all layers are separated, go back in with your screwdriver and work around the coil until the spacing between coil wraps is consistent. Consistent spacing on the coil stretch ensures the most even heat transfer for optimal device performance.
4) Place the coil back inside your housing. For the optimal coil stretch, you will have to gently compress the coil like a spring in order to fully screw on the housing upper. Ensure the aroma ruby pearls and stretched coil are not preventing the housing upper and lower from completely sealing.

Housing and Aroma Ruby Installation
Make sure to perform these steps over a rolling tray or plate to ensure no Aroma Ruby Pearls roll away.

1) Unscrew the housing upper and lower pieces and place the coil within the housing. Most QaromaShop housings include a raised step for optimal fit with the coil. When installing, wiggle the coil back and forth to ensure it is fully seated in the housing.
2) Pour your Aroma Ruby Pearls into the gemstone chamber of your housing. Make sure not to overfill the gemstone chamber.
3) Gently screw on the housing upper until flush with the housing lower piece. Air gaps between the housing upper and lower negatively impact device performance, so ensure that the coil and Aroma Ruby Pearls are not obstructing the housing from closing completely.
Note: For Lite and Lite Plus models the coil is exposed and doesn't sit inside the housing. Simply screw the housing upper until there is a secure grip on the heating coil and make sure your Aroma Ruby Pearls are not obstructing the housing from closing.

Other Resources
Having any issues with the installation or have questions, reach out through our contact page and we'll help you get everything situated. Want to learn more? Check out the additional resources below;
- Ritual YouTube Channel: https://www.youtube.com/channel/UCCIVn5ZFkyOVgPSSGu6HgJQ
- QaromaShop Discord: https://discord.gg/Wd4rbCYKjk
- QaromaShop Reddit: https://www.reddit.com/r/Qaromashop/

